【Firebase Cloud Messaging】導入の手順
はじめに
Firebase Cloud Messagingの導入手順を記事に残します。
開発環境
・macOS Catalina 10.15.7
・Xcode 12.2
・Swift 5.3.1
・CocoaPods 1.10.0
・FirebaseMessaging 7.3.0
・FirebaseAnalytics 7.3.0
・zsh 5.7.1
・Visual Studio Code 1.51.1
手順
設定
※Apple Developer Program - Apple Developerへの登録が必要です。
※開発者証明書(Certificates)の作成、テスト端末の登録(Devices)、プロビジョニングプロファイルの作成に関しては省略します。
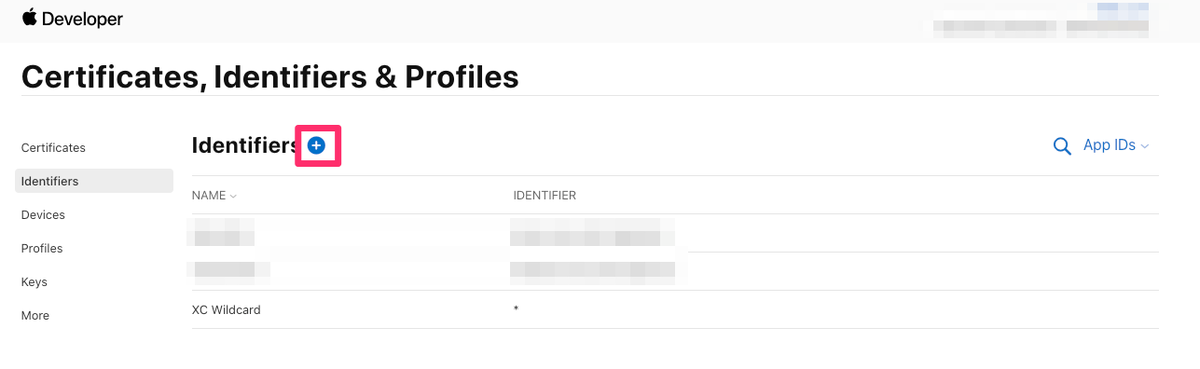
Identifierを追加
Apple Developerにログインし、Certificates, Identifiers & Profilesに移動。
Identifiersの横にある"+"を選択。
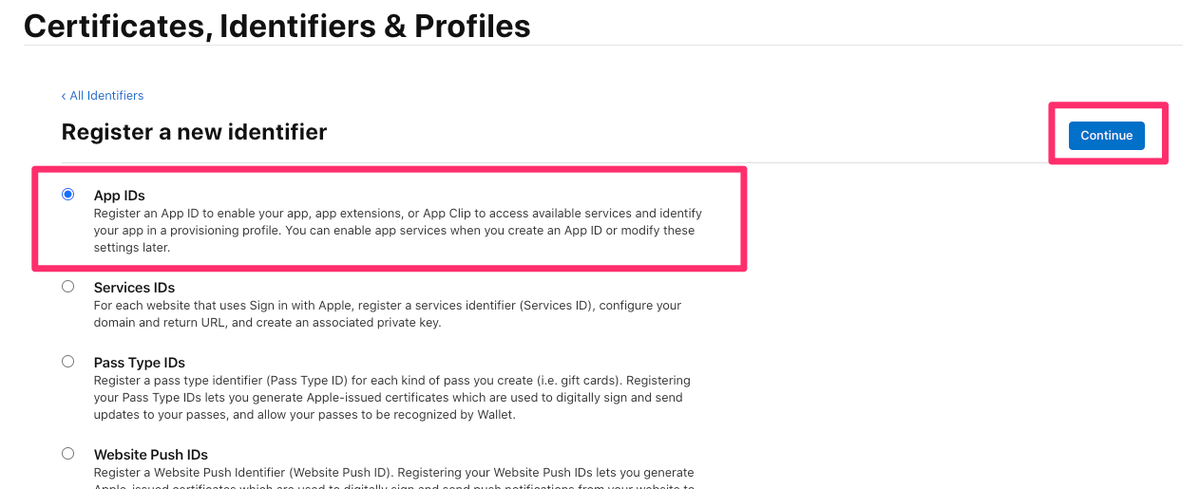
App IDsを選択後、Continueを選択。
Appを選択後、Continueを選択。

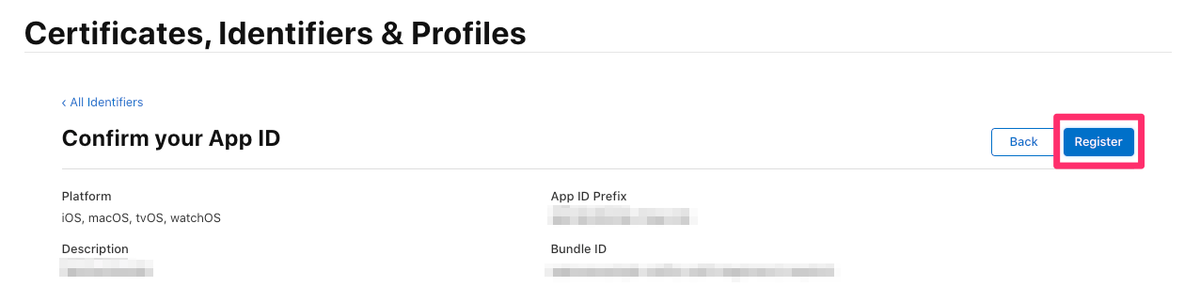
DescriptionとBundle IDを入力。
Push Notificationsにチェックを入れてContinueを選択。

Registerを選択して登録完了。
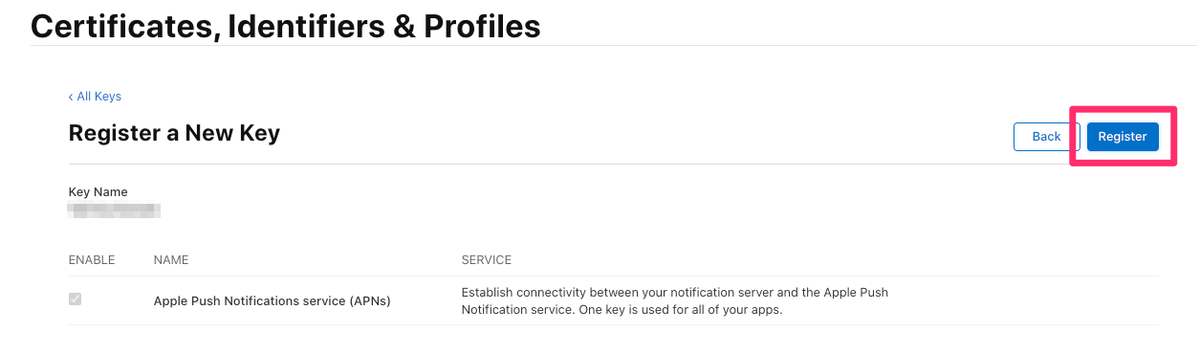
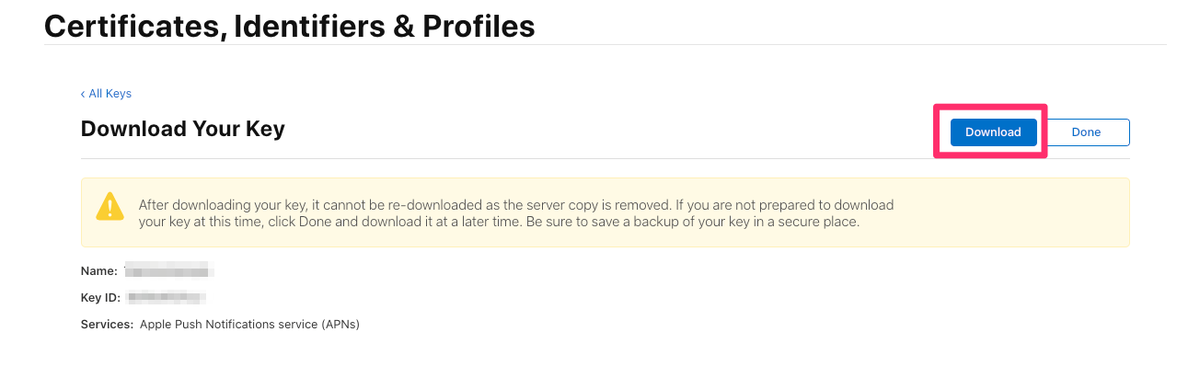
Apple Push Notification Authentication Keyの取得
Keysの横にある"+"を選択。

Key Nameを入力し、APNsにチェックを入れてContinueを選択。

Registerを選択。
Downloadを選択。
※作成したキーは再ダウンロードすることができないため注意。
Capabilityを追加
下記の図のように選択していき、"+ Capability"を選択。
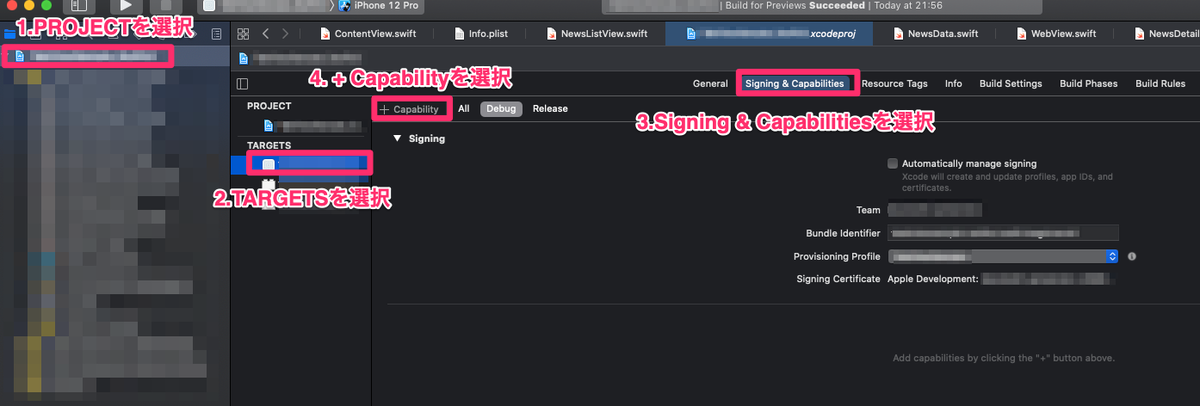
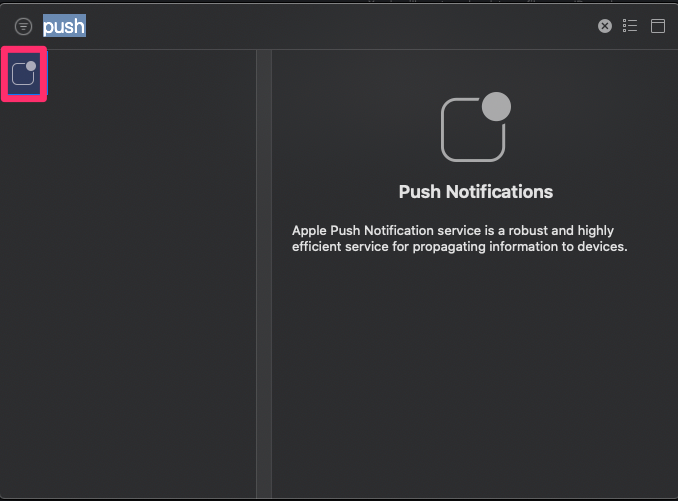
Push Notificationsを選択すれば設定完了。
Firebaseプロジェクトを追加
「プロジェクトを追加」を選択。
設定の途中で聞かれるプロジェクト名は任意の名前を入力、アナリティクスは有効にしておく。

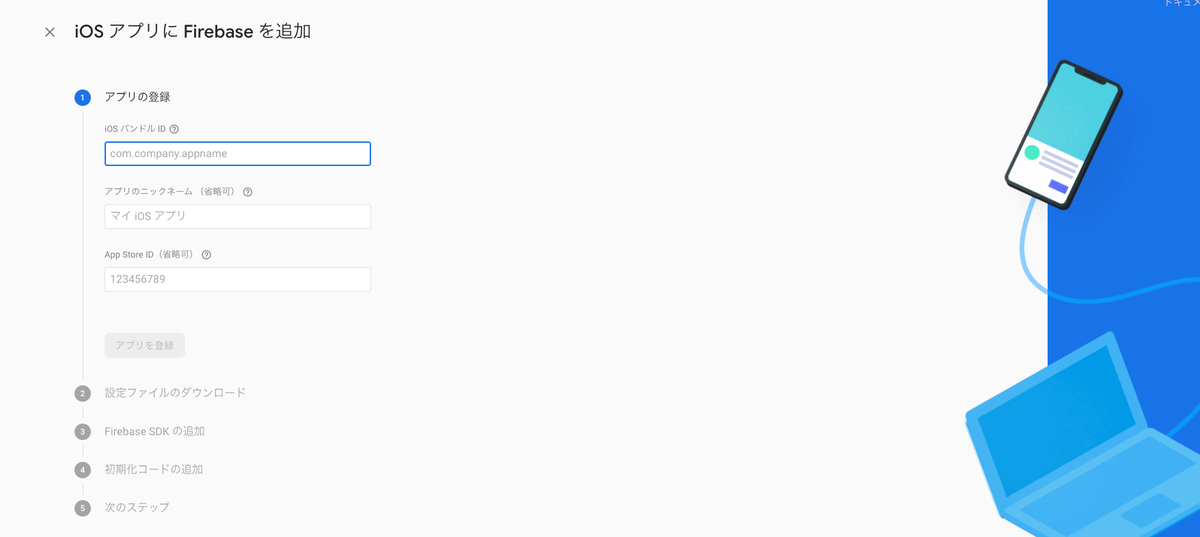
FirebaseにiOSアプリを追加する
下記の図にある"iOS"を選択。
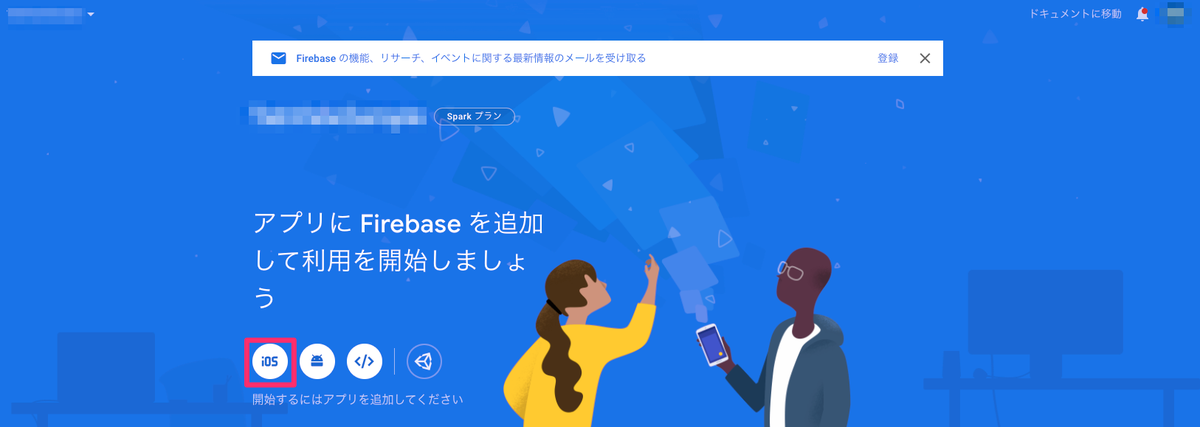
「iOS バンドル ID」欄にBundle IDを入力して「アプリを登録」を選択。
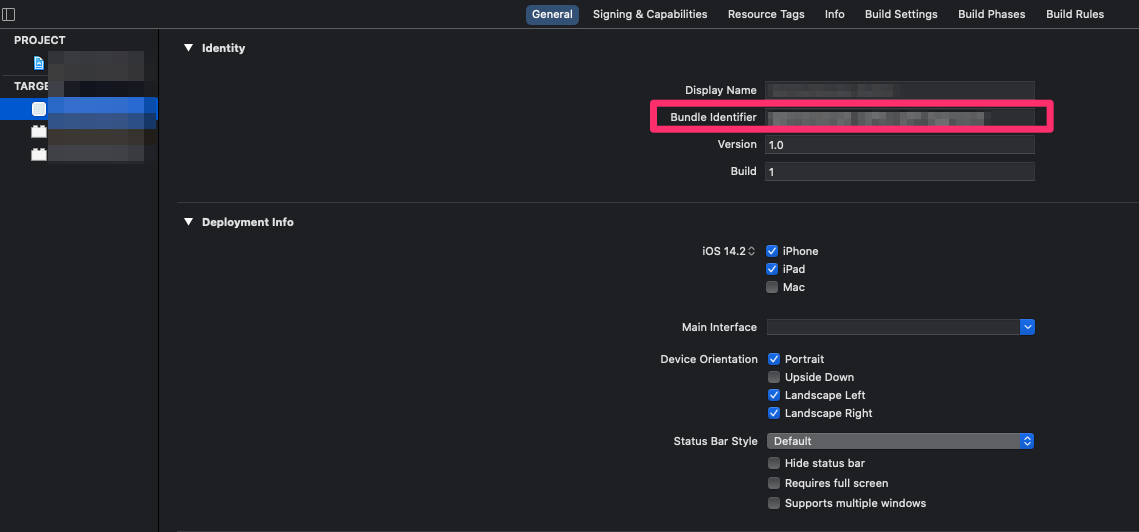
※Bundle IDの確認方法
XcodeのGeneralに移動すると確認できる。
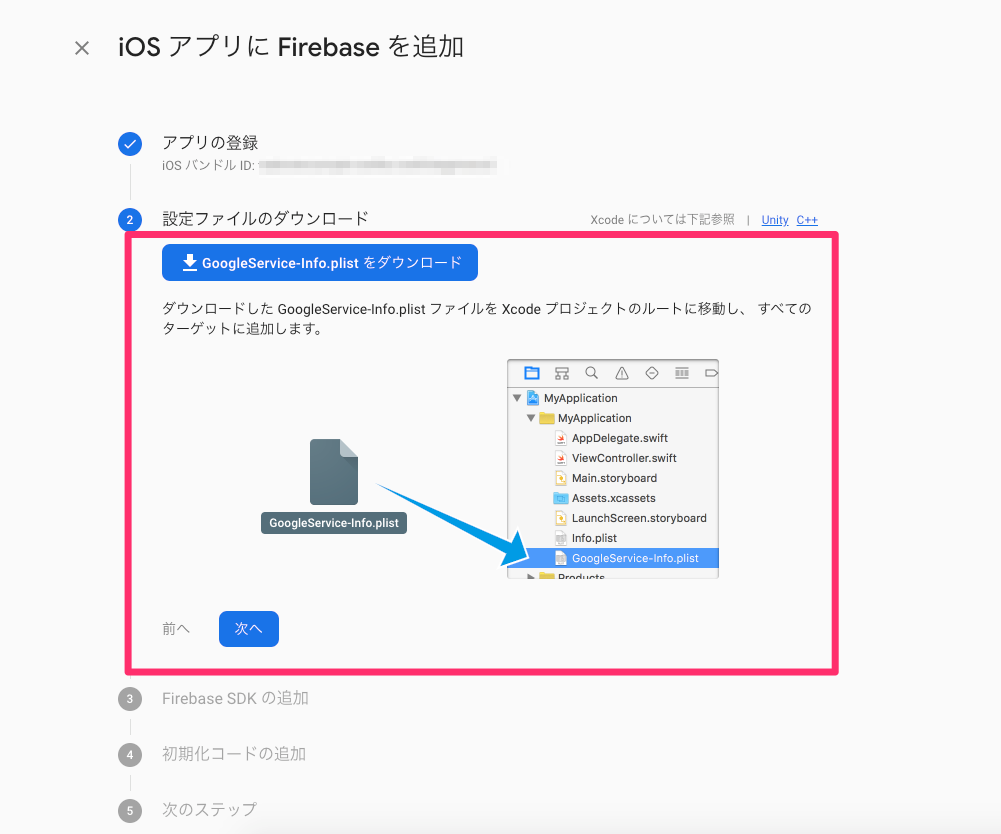
Firebaseの構成ファイルをプロジェクトに追加
GoogleService-Info.plistをダウンロードしてプロジェクトに追加する。
Firebase SDKをプロジェクトに追加
ターミナルでプロジェクトファイルのある階層に移動して、以下コマンドを実行。
pod init
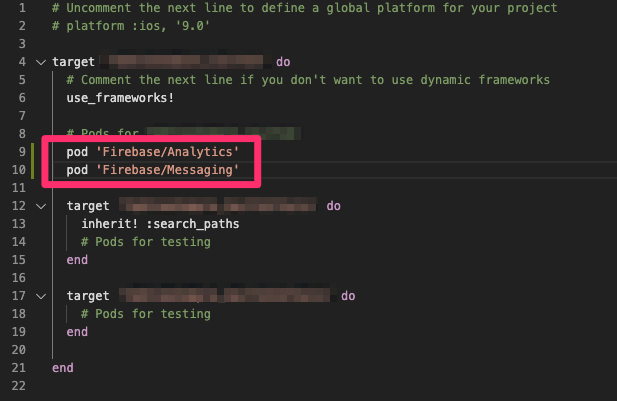
プロジェクトファイルのある階層に追加されたPodfileに以下を追加して上書き保存。
pod 'Firebase/Analytics'
pod 'Firebase/Messaging'
以下コマンドを実行してライブラリをインストール。
pod install
APNs認証キーをFirebaseのコンソールにアップロード
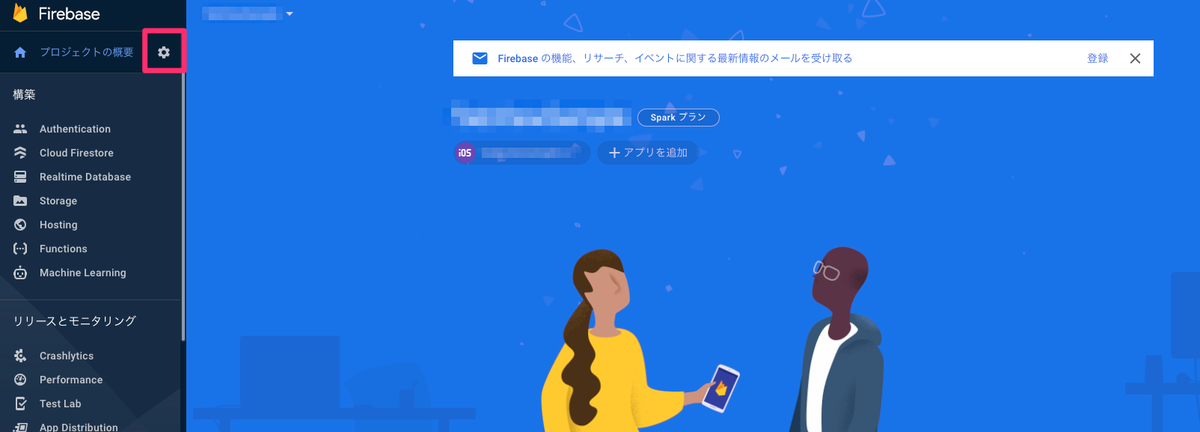
Firebaseのコンソールを開き、設定のアイコンを選択。
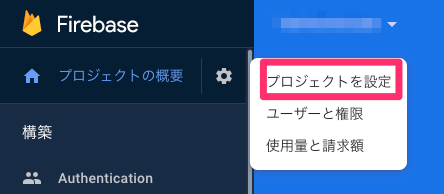
「プロジェクトを設定」を選択。
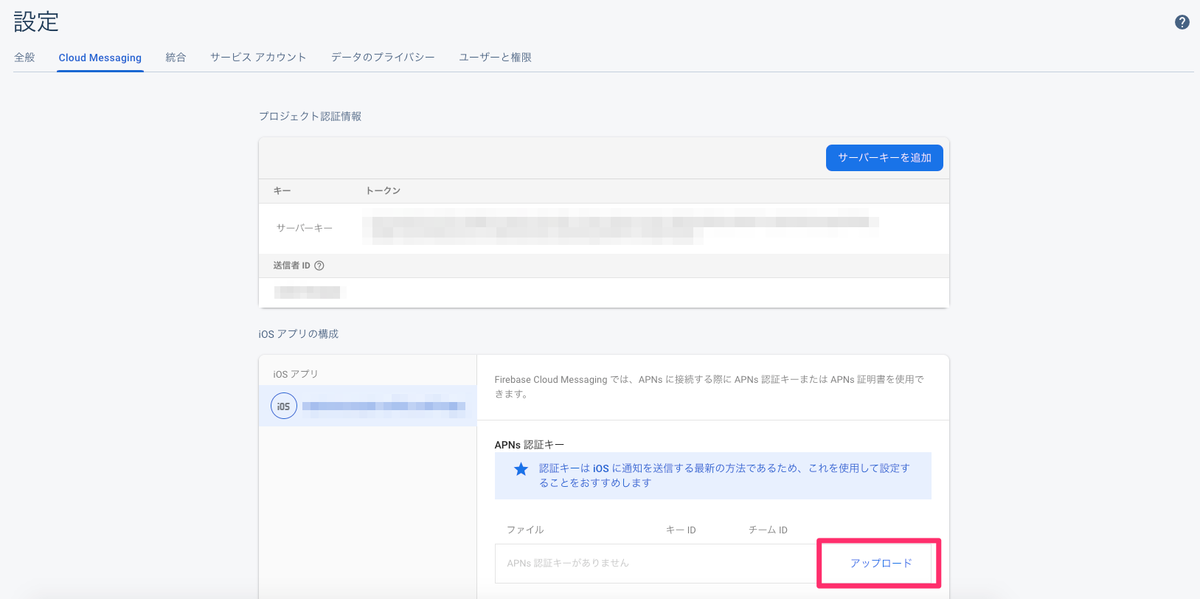
Cloud Messagingを選択。

アップロードを選択。
APNs認証キーを選択し、キーIDとチームIDを入力して「アップロード」を選択。

※APNs認証キーはApple Developerで作成したApple Push Notification Authentication Keyを選択する。
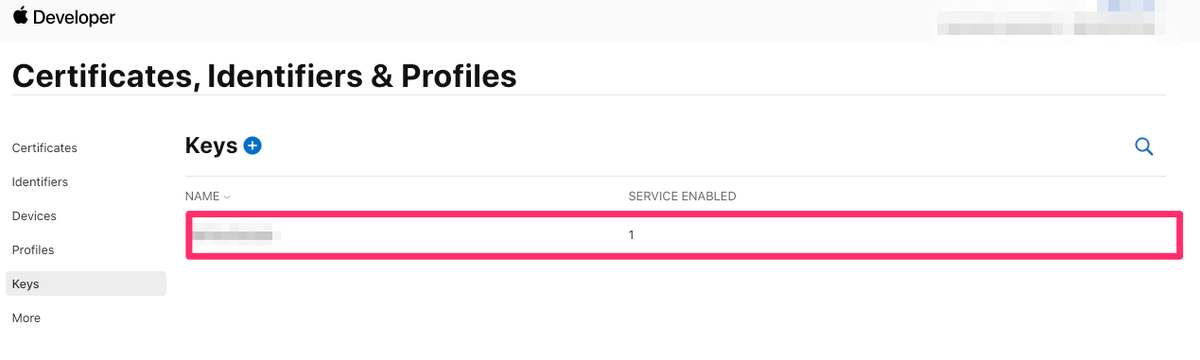
※キーIDは、Apple DeveloperのCertificates, Identifiers & ProfilesのKeysから確認できる。

※チームIDはApple DeveloperのMembershipから確認できる。

実装
プロジェクトでFirebaseを初期化
プロジェクトファイルのある階層に追加されたxcworkspaceファイルを開く。AppDelegate.swiftに以下を追加する。
import Firebase
FirebaseApp.configure()

リモート通知に登録
AppDelegate.swiftのapplication(_:didFinishLaunchingWithOptions:)メソッドに以下を追加する。
UNUserNotificationCenter.current().delegate = self

let authOptions: UNAuthorizationOptions = [.alert, .badge, .sound]
UNUserNotificationCenter.current().requestAuthorization(
      options: authOptions,
      completionHandler: {_, _ in })

application.registerForRemoteNotifications()

トークンを取得
AppDelegate.swiftのapplication(_:didFinishLaunchingWithOptions:)メソッドに以下を追加。
Messaging.messaging().delegate = self
AppDelegate.swiftに以下メソッドを追加。
このメソッドは、アプリが起動するごとに1回ずつ呼び出される。
※トークンはシミュレータでビルドしても取得できないため、トークンが正常に発行されるかテストしたい場合は実機でビルドすること。
func messaging(_ messaging: Messaging, didReceiveRegistrationToken fcmToken: String?) {
  print("Firebase token: \(String(describing: fcmToken))")
}
おわりに
次回は導入したアプリに、プッシュをテスト送信してみます。